
You sit down to work on your blog, open a blank document, and realize you have no idea what to publish next. There’s a half-finished draft somewhere, three ideas saved on your phone, and a seasonal topic you meant to cover last month.
That’s usually when a blog starts feeling harder to manage than it should.
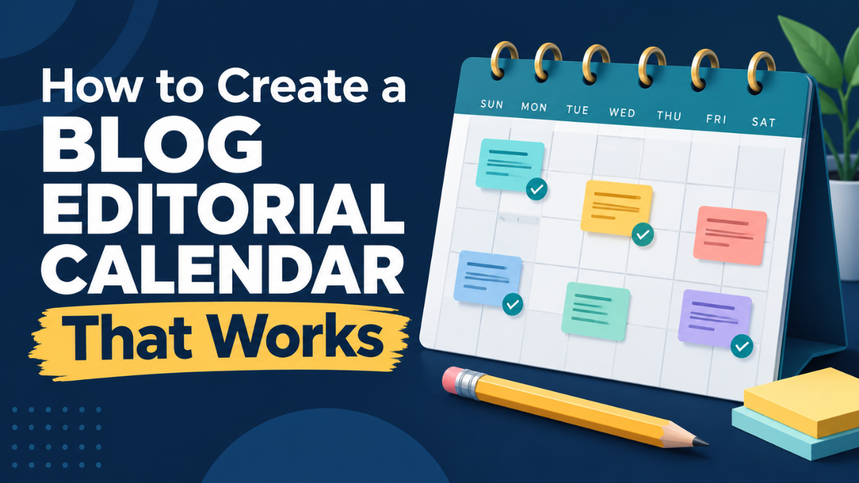
Learning how to create a blog editorial calendar gives those loose ideas a place to land. It helps you decide what deserves attention, when each post should appear, and what needs to happen before publication.
The best calendar is one you can actually maintain. A simple plan that keeps your blog moving is more useful than a detailed system you stop opening after a week.
Table of Contents
- Start With What Your Blog Needs to Achieve
- Choose a Publishing Pace You Can Maintain
- Pick a Simple Home for Your Calendar
- Turn Scattered Ideas Into Useful Topics
- Give Every Scheduled Post a Clear Job
- Plan Backward From the Publication Date
- Build a Month That Feels Balanced
- Leave Space for Changes and Older Content
- Make Your Calendar Part of Your Weekly Routine
Start With What Your Blog Needs to Achieve
Before filling dates with topics, decide what you want the next few months of blogging to accomplish.
Perhaps readers keep asking basic questions your site hasn’t answered. Maybe your existing posts attract visitors, but those visitors rarely explore another page. You might be launching a service and need useful supporting content ready beforehand.
Each situation calls for a different schedule.
Imagine you run a home coffee blog. If your goal is to help beginners, a series covering grind size, brewing ratios, and common mistakes makes sense. Publishing several advanced equipment comparisons might leave those beginners behind.
Write one plain sentence above your calendar: “Help new home brewers make better coffee with the equipment they already own.”
That sentence becomes a practical filter. When an idea sounds interesting but doesn’t support the goal, save it for later.
You can still explore other subjects. Giving the current month a clear purpose simply makes your choices easier.
Choose a Publishing Pace You Can Maintain
Let’s be honest: it’s easy to promise yourself three posts a week when none of them are due yet.
Look at the time you genuinely have. A post may require research, examples, images, editing, and checks inside your publishing platform. Interviews or original testing add even more work.
If your blog gets four spare hours each week, build around those four hours. Don’t quietly assume you’ll find another six.
Start with a manageable commitment, such as one substantial post each week or two each month. Keep that pace for a few weeks before increasing it.
There’s also value in having a predictable publication day. A Tuesday deadline makes planning easier because you know when the supporting tasks need to happen.
However, treat frequency as a capacity decision. Publishing more often only helps when you can keep the content useful and accurate. A calendar that repeatedly pushes unfinished posts into next week needs a lighter workload.
Pick a Simple Home for Your Calendar
Your calendar needs to show what’s planned, who’s responsible, and how close each post is to publication.
A spreadsheet can handle that comfortably. A shared calendar may suit someone who prefers seeing dates visually. A task board can help a team follow posts as they move through different stages.
Choose whichever format you’ll check regularly.
For a small blog, start with these fields: topic, reader need, main search phrase, owner, draft deadline, publication date, and status. Add a notes field for sources, related posts, or image requirements.
Those details should answer everyday questions without forcing you to open several documents.
Use clear status labels, such as “Idea,” “Scheduled,” “Drafting,” “Editing,” and “Published.” If you work alone, an owner column may be unnecessary. With multiple contributors, it becomes essential.
Avoid adding fields just because another blogger uses them. Every extra column creates something else to maintain. Your system should earn its complexity by solving a real problem.
Turn Scattered Ideas Into Useful Topics
Now gather your existing ideas into one place. Check saved notes, reader questions, unfinished drafts, and subjects you’ve mentioned briefly in older posts.
Keep this collection separate from your publishing schedule. An idea bank holds possibilities; the calendar holds commitments.
Broad subjects need narrowing before they earn a date. “Email marketing” could mean dozens of things. “What to Include in Your First Welcome Email” gives you a much clearer direction.
Try finishing this sentence for each idea: “After reading this, someone should be able to…”
For the welcome email topic, the answer might be: “Choose the essential information and organize it into a useful first message.”
That tells you whether the topic has a practical purpose.
Review what you’ve already published, too. Sometimes a promising idea deserves a new article. Other times, it belongs inside an existing post that needs a better explanation.
This quick check helps prevent a crowded calendar full of articles that answer almost the same question.
Give Every Scheduled Post a Clear Job
A title alone rarely provides enough direction.
Add a short brief that explains who the post is for, what question it answers, and what it should cover. Include any examples, sources, or related pages you already know you’ll need.
Keep it short enough to scan.
For an article about starting a balcony garden, the brief could specify apartment residents with limited space, containers suitable for beginners, sunlight considerations, and a small starter setup.
That’s much more useful than scheduling “Gardening Tips.”
Add the main search phrase where relevant, but keep the reader’s question central. A phrase helps describe the subject; it doesn’t explain everything a useful article should contain.
Also note a sensible next step for the reader. They might need a related guide, a checklist, or an explanation of a term.
Planning that connection early makes your blog easier to explore and gives each scheduled post a place within the wider site.
Plan Backward From the Publication Date
A publication date tells you when the post should be ready. Working backward tells you whether that deadline is realistic.
Suppose an article goes live on Thursday. You might reserve Wednesday for final checks, Tuesday for editing and images, and Monday for completing the draft. Research would need to happen earlier.
The exact timing depends on the post. A short explanation and a detailed product comparison shouldn’t automatically receive the same schedule.
For team blogs, include handoffs. If an editor needs two days to review a draft, that time must appear in the plan. Otherwise, their workload becomes an invisible obstacle.
Seasonal content needs similar care. A holiday planning guide should reach readers while they’re making plans, so choose its publication date around that need.
Add some breathing room between completion and publication. Even a small buffer helps when a source needs checking or an image takes longer than expected.
Build a Month That Feels Balanced
Once you have topics and deadlines, look at the month as a whole.
Does every article cover the same narrow subject? Are all four planned posts demanding guides that need extensive research? Have you scheduled beginner content without anything that helps readers take the next step?
A balanced month considers both reader needs and your workload.
For a beginner blogging site, one month could include choosing a focused topic, organizing a first post, creating a realistic publishing schedule, and improving an older article. Those subjects connect while answering different questions.
You can also pair a demanding article with a simpler, focused explanation the following week.
Try planning the next four weeks in detail while keeping later months broader. You might know that November will focus on seasonal planning without deciding every title in September.
That gives you direction while leaving room for better ideas and changes in capacity.
Leave Space for Changes and Older Content
A completely full calendar can become fragile. One delayed interview or unexpectedly busy week sends everything sliding.
Leave occasional space for an update, a timely subject, or finishing work that took longer than expected. You don’t need to turn every available slot into a promise.
Older content deserves scheduled attention as well.
A useful article with outdated examples may benefit from an update. Another post might need clearer instructions, better internal links, or a section answering questions readers keep asking.
Give these updates their own calendar entries. “Refresh balcony watering guide” is specific enough to act on; “Improve old content” is easy to postpone.
When an urgent topic arrives, decide what it replaces. Adding work without adjusting anything else usually creates a hidden backlog.
The calendar should reflect your actual priorities, including the work you’ve chosen to delay.
Make Your Calendar Part of Your Weekly Routine
Set aside a short weekly review to check what’s moving and what’s stuck.
Look at the next two weeks. Confirm that topics are still relevant, deadlines are achievable, and each scheduled post has enough direction to begin.
If something keeps slipping, find the reason. The topic may be too broad, the brief unclear, or the publishing pace too ambitious. Moving the date repeatedly won’t fix those problems.
At the end of the month, compare the plan with what happened. Notice which articles took longer than expected and which subjects generated useful reader questions. Where you have performance data, use it carefully; a newly published post needs time before you can judge its results.
Start with one month, a manageable schedule, and a handful of topics worth covering. Keep the calendar close to your everyday work and adjust it as you learn. Its real value is making the next useful task clear whenever you return to your blog.